Email Development
Getting Started with MJML – How to Code Responsive Emails with Limited Coding Knowledge
Email Development
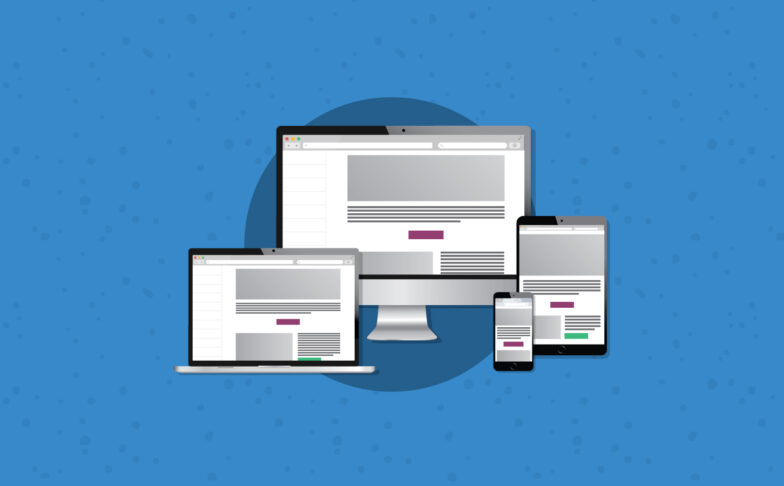
No matter who’s on your list or what industry you work in, the stats show a significant portion of your subscribers are opening emails on mobile devices. That should come as no surprise since mobile devices do just about everything for us.
Still, we’ve all opened an email on our phones and been frustrated by the “mobile unfriendliness.” Designing and developing responsive emails is no longer just an option, it’s absolutely essential.
It may be fairly easy to find responsive email templates provided by your ESP. But what if you’ve got an idea you need to build from scratch?
As long as you’ve got some basic coding skills, MJML is an intuitive, open-source framework that can help you get the job done.
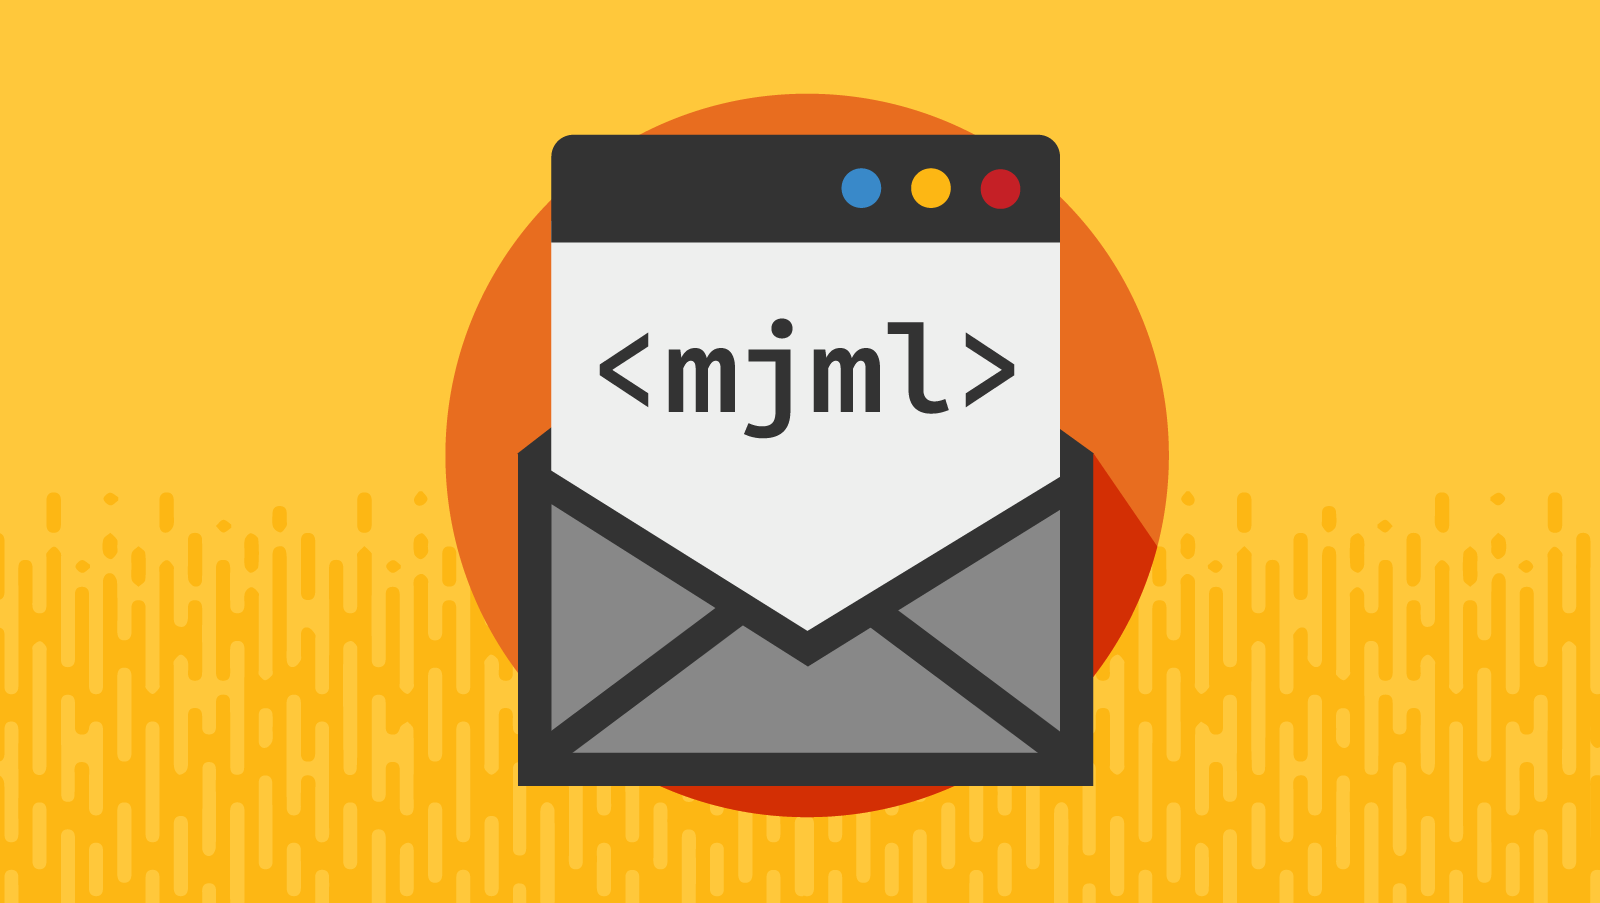
MJML stands for Mailjet Markup Language and originated from a group of developers at Mailjet (now Pathwire) who set out to help developers code emails in a simpler and more efficient way. So, they developed a markup language that simplifies the complexity of responsive HTML and automatically generates it.
Since 2015, MJML has been a leading email development framework that has personally saved me hundreds of hours in email development time.

It will be useful to have a basic grasp of HTML and CSS in order to effectively use MJML. The syntax is very similar to HTML (with opening and closing tags) and you still use CSS syntax and declarations for styling your email.
There are plenty of courses out there to help you learn HTML and CSS, W3schools and Codeacademy have excellent beginner programs to get you up to speed.
There are a few different options to set up MJML on your computer:
If you’re software engineer or a developer and familiar with a CLI (command line interface) you can install MJML with NPM to use with NodeJS or the CLI
You can also use a plugin or package with your favorite IDE, text editor, or task runner:
There’s a bunch more you can explore here, but the above are the most popular and a few of these options are actively managed by the MJML team.
If you don’t know anything about the programs or methods mentioned above, you have two options:
MJML.io has an excellent getting started tutorial which walks through the basics of the framework.
You’ll want to pull up the MJML Documentation in a browser as well, as this is going to be the sacred document of reference for anything you’re trying to accomplish.
The responsive email template boils down to two basic “blocks” you use to build an email:
For example: Here is an email template with one column:
                                <mj-section>
   <mj-column>
      <mj-text>
         Hello World
      </mj-text>
  </mj-column>
</mj-section>
Here’s a “Try it Live” example of this: https://mjml.io/try-it-live/X2PkY8n5Taw. Click the arrow on the right side to see a preview of the email.
And here’s an email template with two columns:
                                <mj-section>

  <mj-column>
     <mj-text>
        Here is some text
     </mj-text>
  </mj-column>

  <mj-column>
     <mj-text>
       Here is some text
     </mj-text>
  </mj-column>

</mj-section>
Here’s a “Try it Live” example: https://mjml.io/try-it-live/OUEKlwUUcxG
You can see how this template is responsive and adjusts automatically on smaller screen sizes by clicking the mobile icon at the top of the “Try it Live” previews.
Once you have the structure in place, the rest is just styling and adjustment to make sure your template is optimized and accessible.
Here’s an example of a basic MJML template and it’s different components. You can find more MJML Template examples on their website.
First, we can start with adding a top nav to our template: https://mjml.io/try-it-live/WikDMWFA582
Some things to note:
<mj-column> is important, otherwise you may get some funkiness with the spacing. Typically, we use 600px width for email, so setting the first <mj-column> with the logo to the logo size (200px) and then the second <mj-column> to the remaining space (400px), helps define spacing for this <mj-section><mj-section>, <mj-column> and <mj-text> have default padding, so you’ll need to adjust it or set it to padding=”0px” to help fit everything in.vertical-align=”middle” is necessary to keep the text links in line with the logo, but you may need to add additional padding to get everything centered and lined up.Next we’ll build a main CTA section with a background image: https://mjml.io/try-it-live/Q8Qs8tofE0x
Important things to note:
<mj-section> WITH A BACKGROUND IMAGE, YOU MUST SET padding-left=”0px” and padding-right=”0px” IN ORDER FOR IT TO BE CENTERED IN OUTLOOK.(This is in all caps as an important reminder since it’s not mentioned in the documentation.)Next, let’s build the supporting copy section. Here you can do other fun things like adding in more columns, more images, etc.:
https://mjml.io/try-it-live/R8Dsmh8o7vn
Here we can employ MJML’s <mj-social> tag. If you don’t like these icons, you can just use your own images.
https://mjml.io/try-it-live/RRz85Fr-8CB
After doing some tweaks with font sizes and spacing, this is what we come up with: https://mjml.io/try-it-live/RRz85Fr-8CB
From here we can take the MJML code we created and compile it so that it gives us responsive HTML! All we have to do is click the “View HTML” link at the top and we can copy/paste the HTML to use with our ESP. The next step is to run this HTML through Email on Acid’s Campaign Precheck to make sure everything is optimized correctly.
Now that you know how to build a basic template, you can start using some of the other cool, interactive built-in features that MJML offers:
Given that there is no universal support for these interactive email components, it’s important that your content is structured so that the “fallback” for these components will still work and look good. That’s why it’s important to test every email before sending!
Here are some helpful tools I’ve used with MJML that have helped my email dev workflow:
padding-left and padding-right to 0px on <mj-button>’s that are in a <mj-section> with a background image. This will make sure the button is centered in Outlook.<mj-section> with a background image for clients that don’t automatically display images.line-height in <mj-text>, especially with larger font sizes where Outlook tends to cut off text. <mj-attributes> allows you to define default values for components, so you can set <mj-text> to have a specific line-height.<mj-column>’s. If you think you need to put two columns within a column, maybe try using a <mj-table> within a <mj-column>. <mj-group> could also be another option you can look in to.<mj-table> instead. Using this won’t stack on mobile, so it’s probably only best to use for smaller sized content.<mj-section>, <mj-text>, <mj-column>, etc.), so if you’re having spacing issues, try adjusting your padding to 0px first.<mj-group> before the <mj-column>’s.<mj-group> still stacking on mobile.This is just the tip of the iceberg for MJML. There is a whole lot more you can do. A possible next step could be utilizing <mj-attributes> to set up reuseable attributes in <mj-section>’s, <mj-column>’s, <mj-text>’s, <mj-button>’s etc. so that you can save even more dev time. Hopefully this gives you a good starting point and at least a basic knowledge that you can build off of.